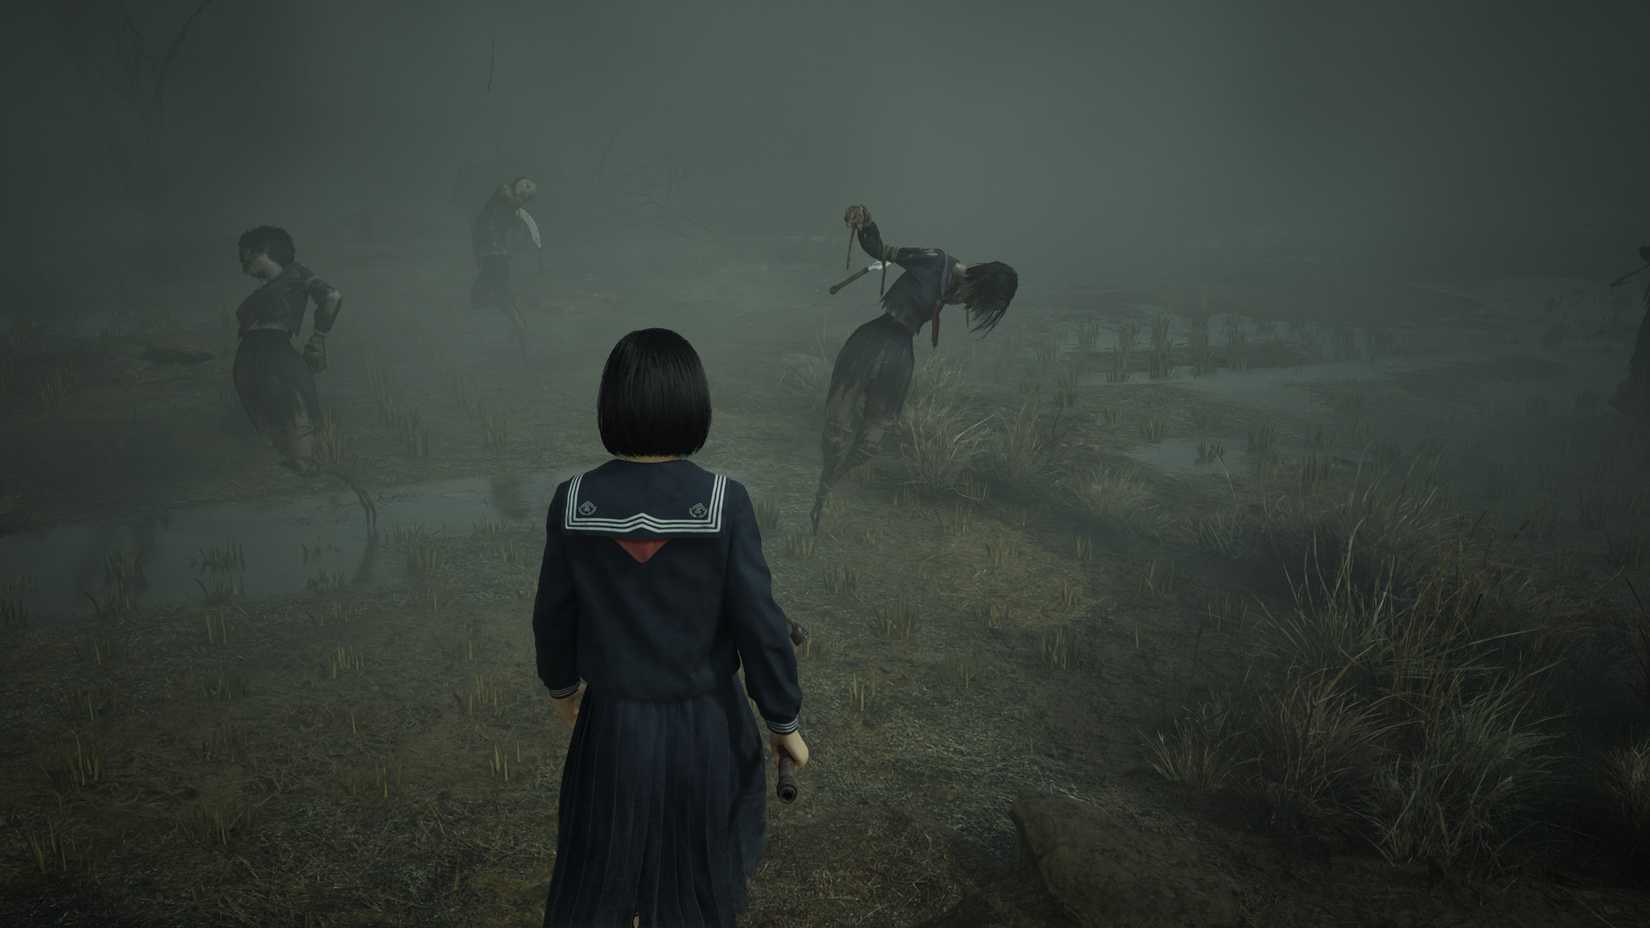
It takes a while before Silent Hill f throws a properly cryptic puzzle your way, but the Field puzzle is just that. After arriving in a mysterious field surrounded by Silent Hill‘s patent fog, you’ll need to decipher some vague clues to identify which scarecrows you can safely approach. Mess with the wrong scarecrows, and you’ll end up dealing with tough enemies instead of making progress.
The following solutions apply to the “Hard” puzzle difficulty in Silent Hill f. Expect to see a different scenario if your puzzle difficulty is set to “Lost in the Fog.”
While it might seem like a single scarecrow will hold the answer to all your troubles, you’ll actually have to progress through several fields of scarecrows before you can leave the area. Don’t waste your time trying to walk away, either — if you haven’t solved the puzzle, the fog will just return you to the scene of the crime.
Scarecrow Locations In Silent Hill F
First Scarecrow Location
The first field of scarecrows offers you a mysterious note that suggests you should remove a “thorn” from one scarecrow. While some of the scarecrows are dangerous, one “that’s not actually scary” will “tell you which way to go” once its thorn is removed.
Each scarecrow on the field has a nail in it, which can be removed by approaching and inspecting the scarecrows. It’s not worth trying to solve the puzzles by brute force, though, as you’ll have to fight scarecrows whenever you make the wrong selection.
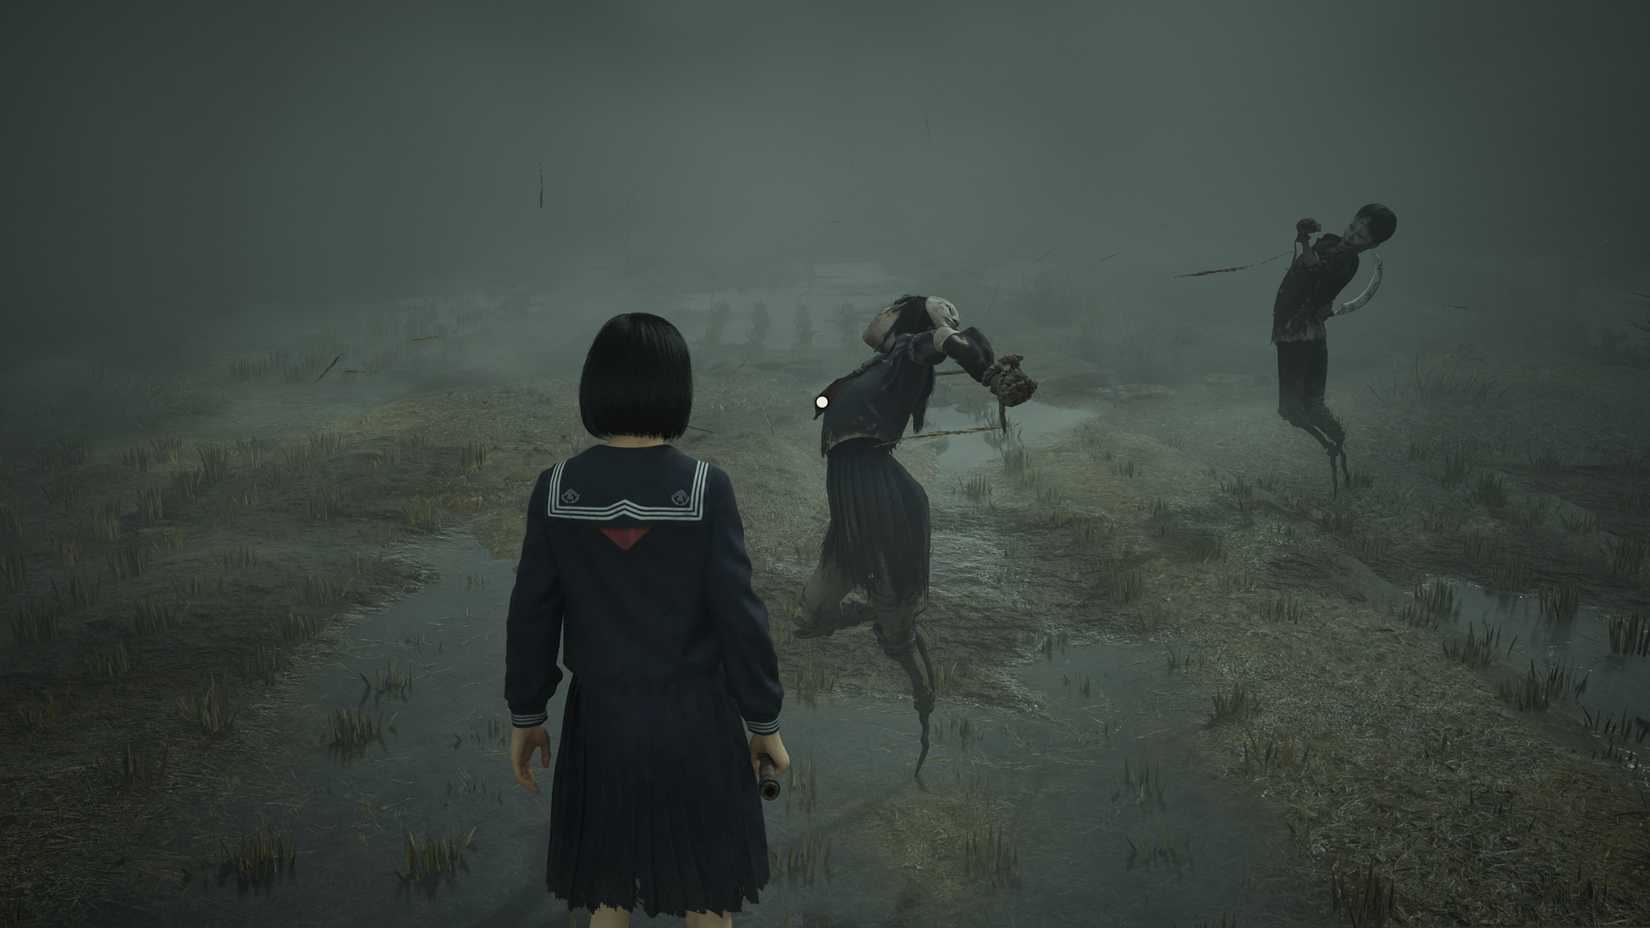
Interact with the stiffly posed scarecrow in front of the rest, and you’ll also receive the following clue:
Can you even imagine how I feel? I’ll put on my polite smile for now.
Per the clue, look for the smiling scarecrow with a sad mask on the back of her head. Pull the nail out from beneath her left shoulder, and you’ll receive a flash card message that says “It’s okay.” “You don’t have to be afraid anymore.” The scarecrow will then contort to point the way into the fog. Head in that direction until you come across the next field.
Second Scarecrow Location
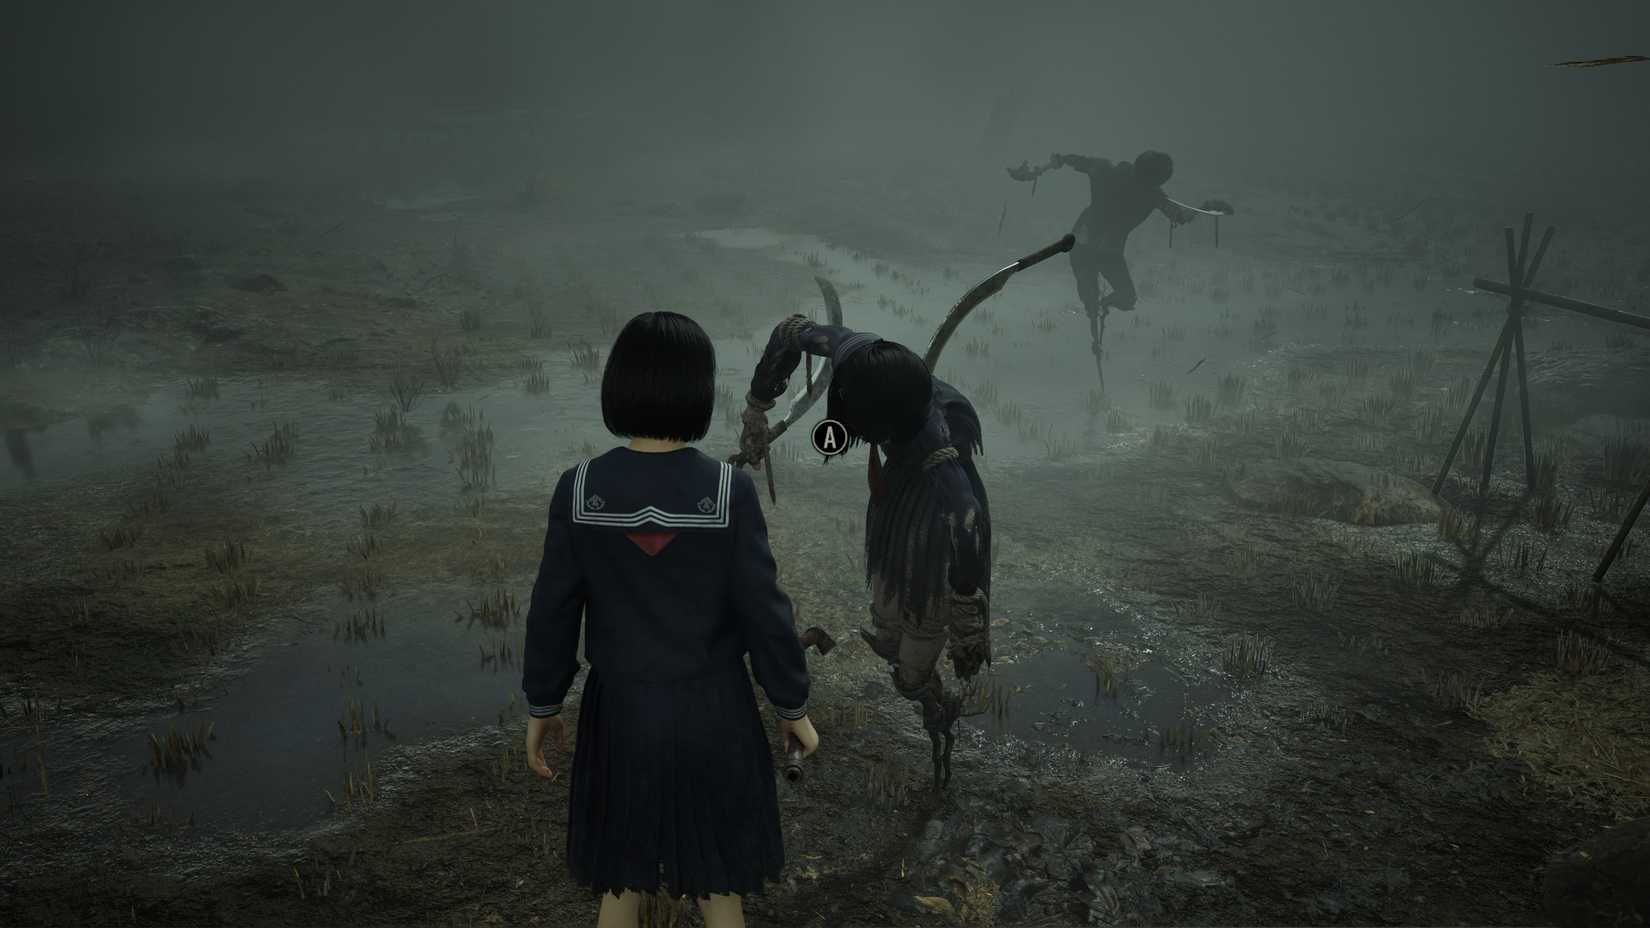
Can you even imagine how I feel? What it’s like to have been deceived by you for so long?
Here, you’ll want to remove the nail from the scarecrow that’s been backstabbed. She holds a sickle in her right hand, but there’s also one in her back. Pull out the nail from the left side of her torso to receive a flash card message reading, “That’s what I said to you, when I saw you so scared.” Follow her direction to the next field.
Third Scarecrow Location
In the next field, your clue is as follows:
Can you even imagine how I feel? He never looked at me the way he looked at you. Not once.
This field is full of male and female scarecrows looking each other in the eyes. You’ll want to find the scarecrow who’s been left out. Look to the left, and you’ll see her staring at a scarecrow whose gaze is fixed on another. Pull out the nail from her stomach for the flash card “I wonder why I called you over,” and move on to the next field.
Fourth Scarecrow Location
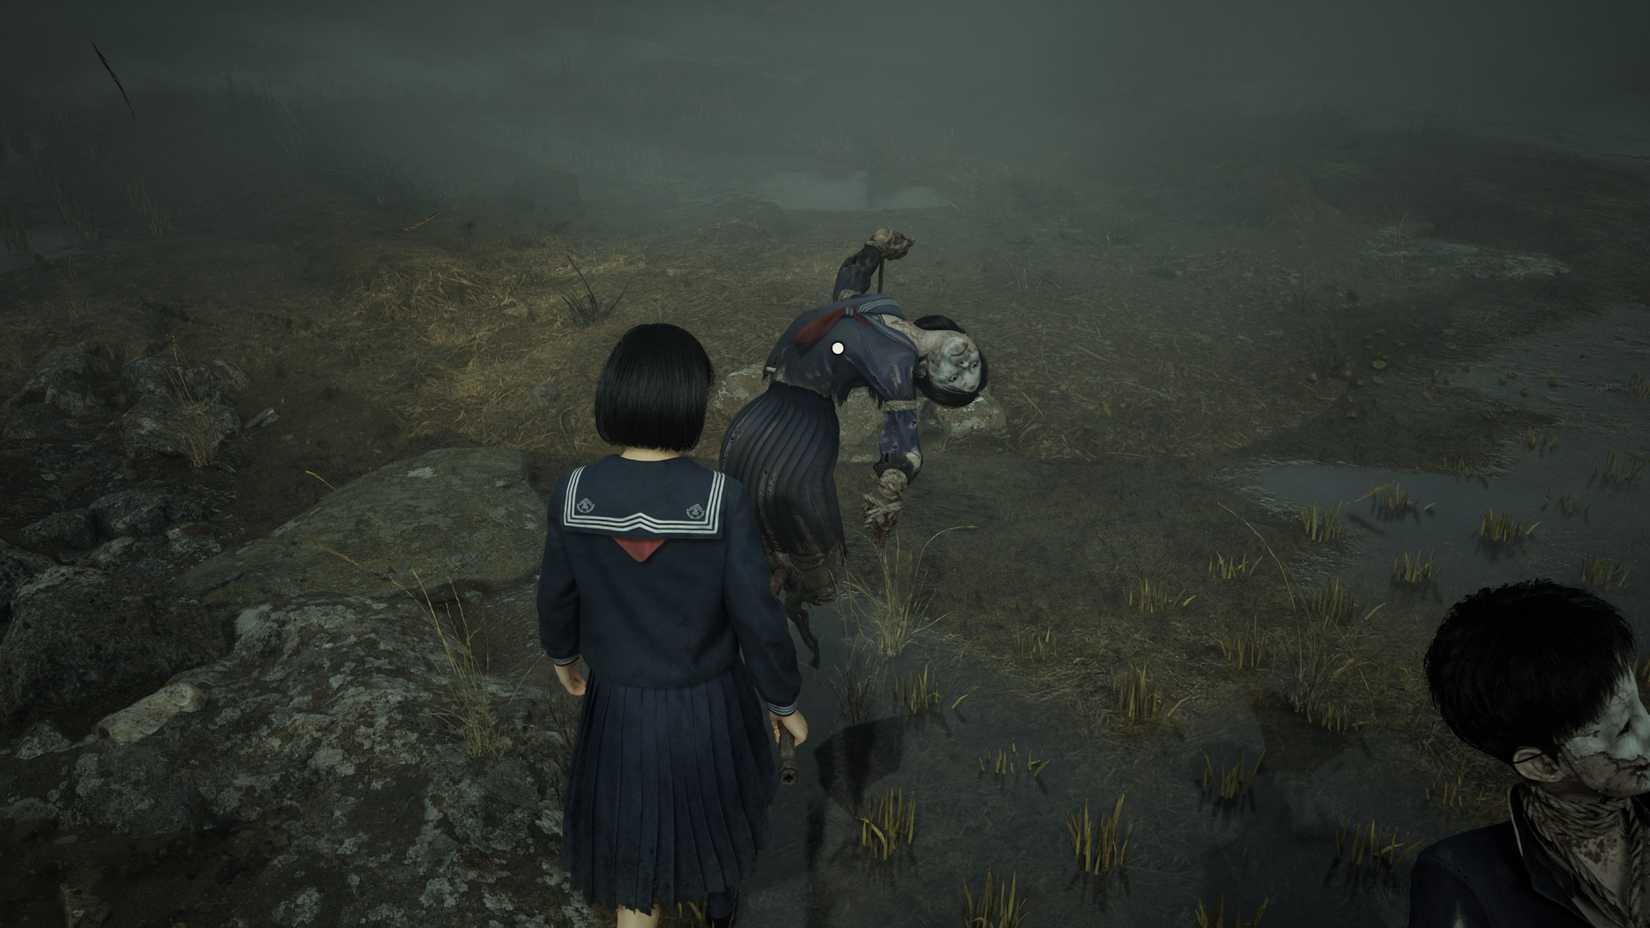
Can you even imagine how I feel? You’ve always been such an eyesore.
Look for the scarecrow depicted above and pull the nail out of this scarecrow’s side. You’ll get the flash card message, “I could’ve just lied to you. Told you to go any which way.” Follow the directions to the final field.
Fifth Scarecrow Location
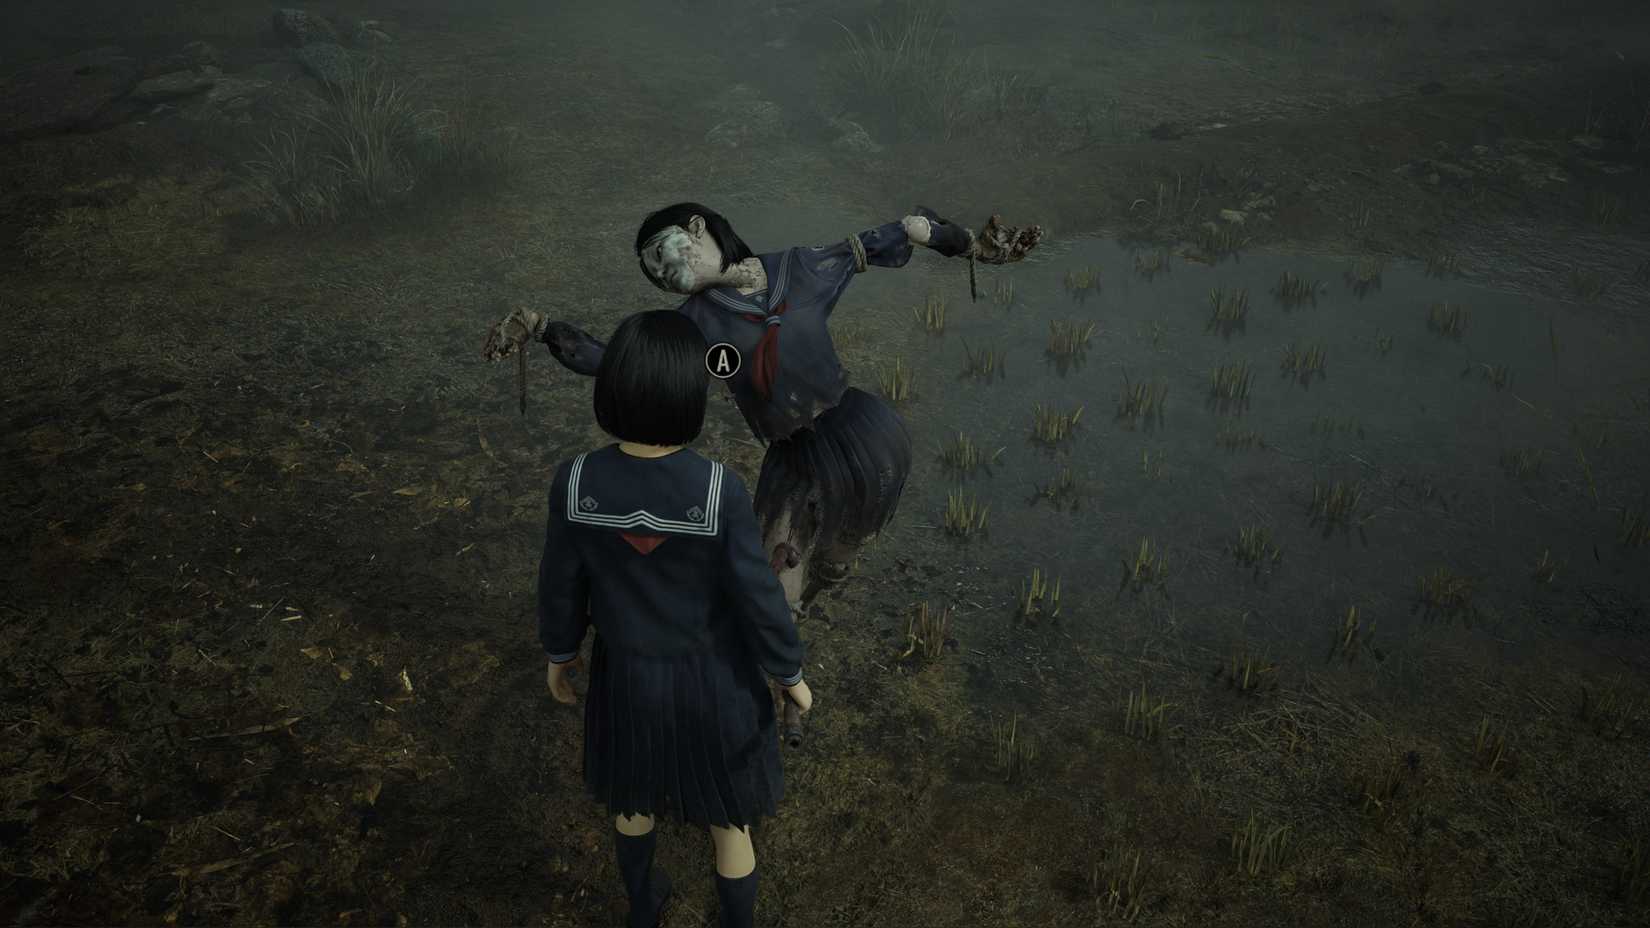
Can you even imagine how I feel? You hurt me, and even hurt him, too. Do you know how it feels to force a smile when I’m staring at that disgusting face of yours?
Like in the second scarecrow location, you’ll want to look for scarecrows that have been injured. If you move ahead, you’ll see two female scarecrows close to each other with an injured male scarecrow behind them.
Approach the injured female scarecrow on the right, but if you hear any noises, make sure you’re moving your camera around to stop any scarecrows from getting the jump on you. This field has a couple of aggressors, and they’re happy to strike while your back is turned.
Pull the nail out of the final scarecrow’s right shoulder, and you’ll get a final flash card that reads “It happens all the time. A kid falling to their death in the waterway.” After reading this, you’ll finally be able to escape the foggy fields and return to the town of Ebisugaoka. You can breathe a sigh of relief at this point. While there are plenty of threats up ahead, it’ll be a while before you have to face another puzzle this cryptic in Silent Hill f.
Systems

Released
September 25, 2025
ESRB
Mature 17+ / Blood and Gore, Intense Violence, Partial Nudity
Developer(s)
Neobards Entertainment
Engine
Unreal Engine 5